Materials / Prepare your list
Terrarium supplies: what you need, and what you can leave out
Make a list for your plants’ roots, water, and maintenance before buying layers or accessories.
By Terrarium GuideSources & editorial method
The short answer
For a planted humid terrarium, gather an accessible clear container, compatible plants, suitable potting medium, water, and simple planting tools. Add a removable lid for a closed garden. Gravel, charcoal, moss, wood, and springtails each need a purpose; they are not a universal starter pack.
Open drying succulents need real drainage. Epiphytic air plants need an open, removable support rather than a soil bed. Carnivorous plants need a list for the identified plant, including its water quality and light requirements.
Pick the list that matches the planting
| Planting | Gather first | Add when needed | Leave out of this plan |
|---|---|---|---|
| Humid rooted foliage | Reachable clear vessel; compatible plants; airy moisture-retentive medium; water and planting tool. | Removable lid for closed growing; coarse base and permeable separator for a layered bed, or draining inner pots for separate care. | Decorative layers that leave too little root depth. |
| Open drying succulents | Suitable light; draining container or removable draining pot; freely draining medium. | Reachable saucer to catch and empty runoff around an inner pot. | Lid, wet moss bedding, or stones used instead of an outlet. |
| Epiphytic air plant | Open support; suitable water; space outside glass for watering and drying. | Stable cork or branch that supports the plant without trapping water at its base. | Potting soil around the base or constantly wet filler. |
| Venus flytrap example | Separate pot and tray; nutrient-poor medium; low-mineral water; strong light and seasonal plan. | Grow light if the chosen indoor method needs it. | Ordinary fertilized potting mix. Other carnivorous plants need different lists. |
- Follow the assembly steps for your list Choose the humid, succulent, air-plant, or flytrap branch.
- Compare other carnivorous growing methods Check roots, light, water, and seasons first.
Scope and important limits
A useful fit when
- Preparing a plant display without unnecessary purchases.
- Checking which existing jars, pots, and tools can do the job.
Use another path when
- A universal soil recipe, brand ranking, or animal enclosure equipment list.
These lists apply published guidance to practical displays. They are not tested product bundles or an assessment that differently managed plants can share one bed.
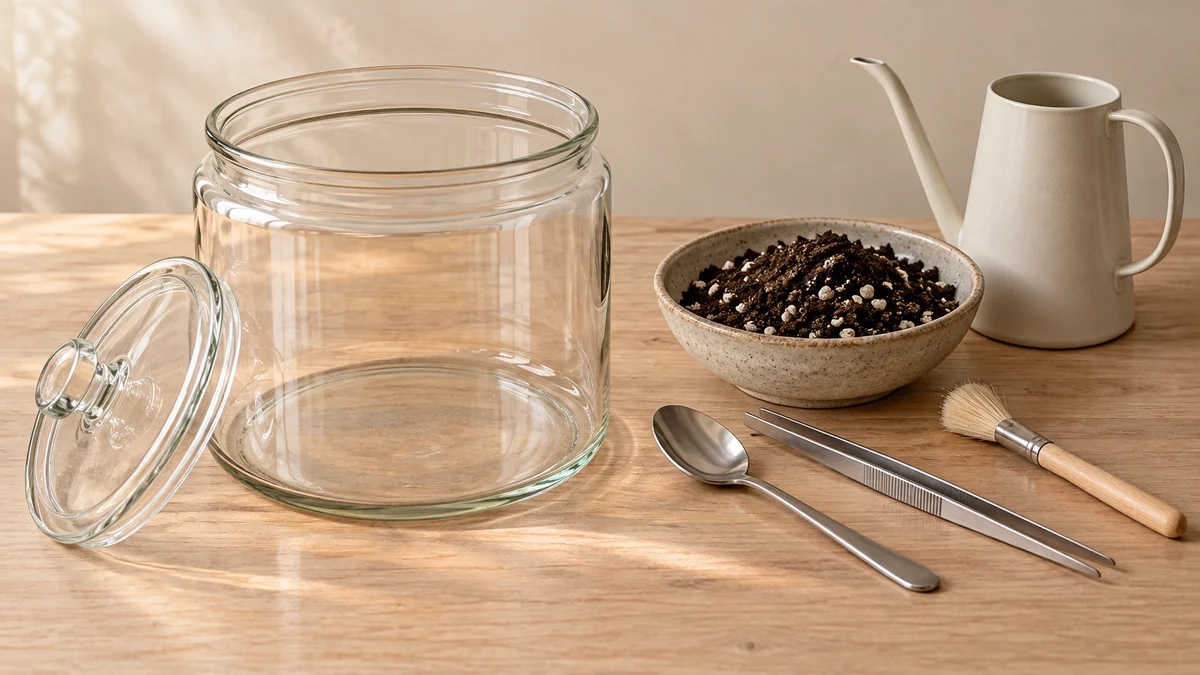
A basic tool group, before adding extras
Start by checking what you already own. The opening, tools, and watering spout matter more than a matching accessory set.
Evidence[3]
Check the basics before buying extras
- A container you can work insideEssentialTest the opening with the actual rootball, hand, and tool. Leave growing room and a removal route. A clean reused jar can work.
Evidence[3]
- Plants with compatible needsEssentialConfirm names and eventual growing space. A small sales pot does not establish that the plant stays small.
Evidence[2]
- Controllable planting and watering toolsEssentialA spoon or small trowel, small-spout watering container, and brush may suffice. Long tweezers help when they reach without damaging growth.
Evidence[3]
- Choose medium for the actual roots Compare moisture, air spaces, and specialist requirements.
- Check plant identities and conditions Choose plants before committing to a shared list.
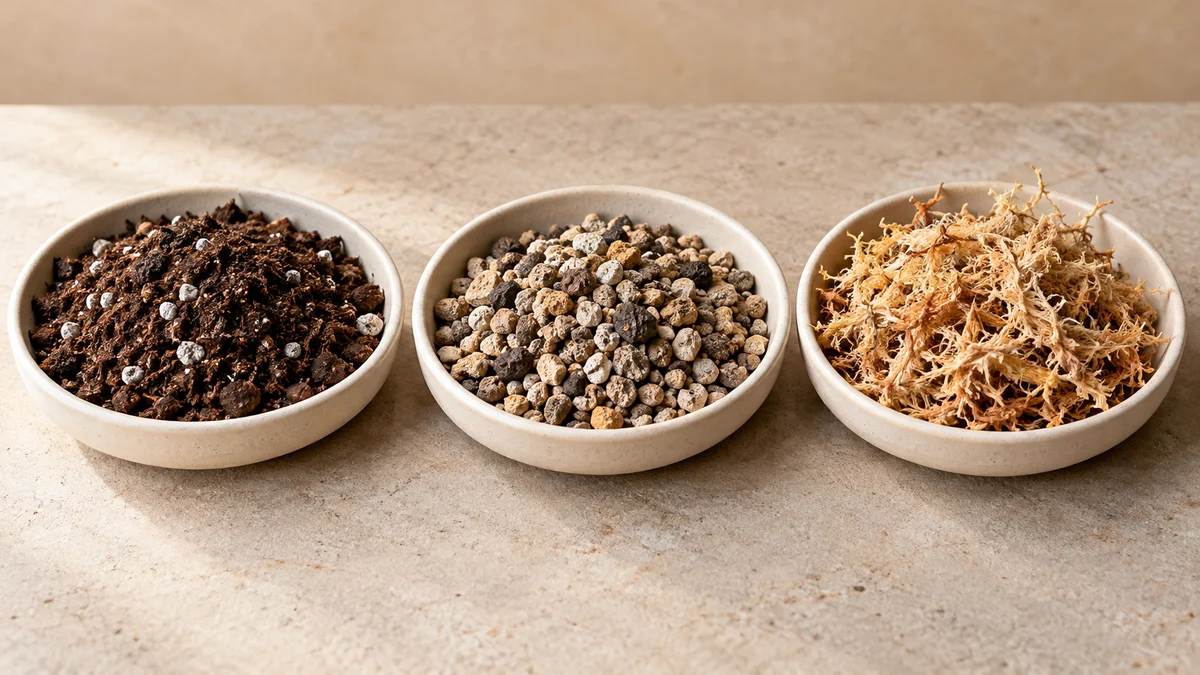
Similar bags can contain very different materials
Compare the visible structure first, then read the product description. A coarse mineral material, potting mix, and dried fiber do different jobs; none is a universal substitute for the others.
Read the label before choosing a bag
- Check ingredients and added feedFind the actual ingredient and fertilizer information, rather than relying on “terrarium” or “natural” on the front. A flytrap’s nutrient-poor medium is a different choice from ordinary fertilized potting mix.
Evidence[7]
Which layers and extras earn their place?
For each item, ask what it does, how much space it takes, and how you will inspect or remove it.
Coarse base and separator: conditional
In a layered humid bed, washed coarse material provides lower collection space; a permeable separator limits fine medium mixing into it. Both take depth. Solid glass still has no outlet, so accumulated water must remain removable. A draining inner pot uses a different arrangement.
Charcoal: no substitute for water management
Published methods differ: some include horticultural charcoal, others build without it. It is not a required purchase for every method or a repair for saturated roots. Choose a coherent arrangement rather than combining every suggested layer.
Moss: a plant or a processed material?
Living moss needs an appropriate surface and moisture. Dried sphagnum is a growing material; preserved moss is not a living planting. Do not buy an unspecified green topping as a required finishing step.
Fertilizer: no automatic starter dose
A new humid terrarium generally needs no immediate feeding; excess growth complicates small spaces. Check existing medium and plant needs first. Ordinary root fertilizer is inappropriate for the beginner flytrap method.
- Choose the base and water route Compare collection space, removable pots, and permeable dividers.
- Check charcoal types and limits Separate optional horticultural use from adsorption claims and unsuitable residues.
- Check living, dried, and preserved moss labels Choose by the actual plant or material identity.
Springtails: optional decomposers, not a repair kit
Springtails primarily feed on fungi, algae, pollen, and decaying organic matter. That soil-food-web role does not establish that adding a culture prevents all mold or creates a maintenance-free garden.
Evidence[8]
See one springtail in close view
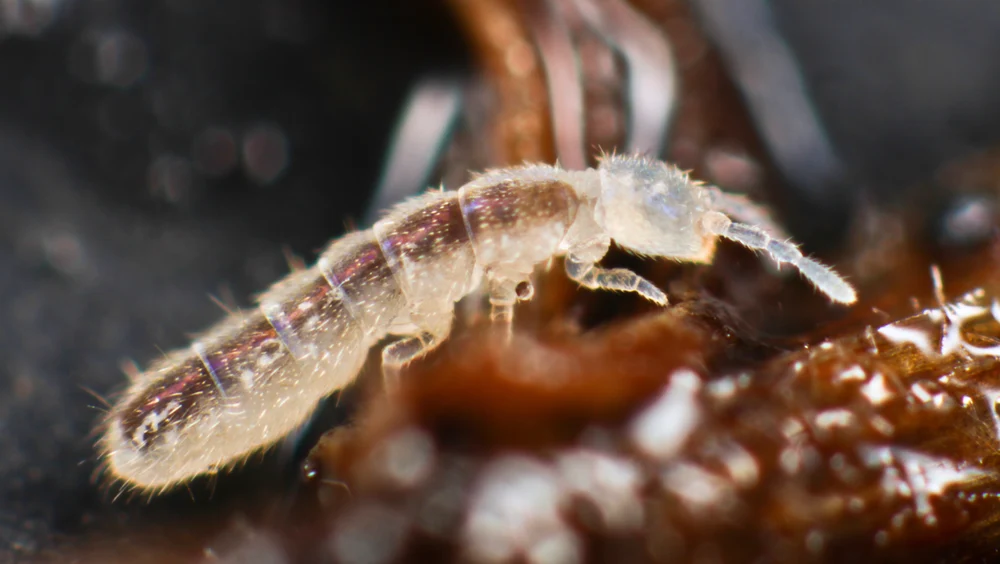
Confirm the organism and culture conditions with the supplier rather than matching color alone. The photograph does not show feeding, a terrarium population, or an outcome after adding springtails.
Evidence[1]
Check the culture before buying
For a humid organic planting, an intentionally sourced culture is optional once growing conditions are established. Check the supplier’s organism identity and culture requirements. Skip it if you cannot maintain those requirements; there is no universal stocking or feeding recipe here.
Do not keep a succulent bed wet for a cleanup crew or add food to hide a problem. Remove accessible dead material and check unwanted collected water. Many small jumping organisms outside the display warrant a moisture check, not automatic treatment or an assumption that every tiny organism is a springtail.
- Understand the limits of decomposition and cycling Keep light, water, and growth checks in the routine.
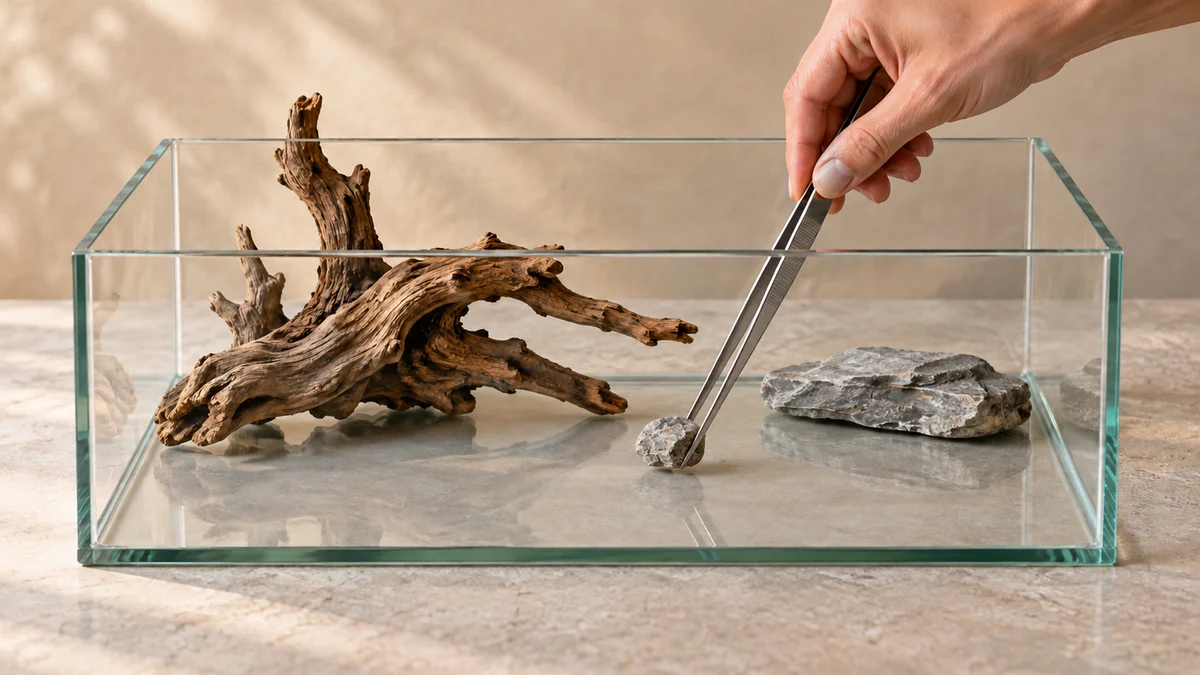
Try placing a small stone before filling the vessel
Before adding medium, use tweezers to try the position of a small decorative stone beside the wood. Check that the tool and the item both pass through the opening without catching. Allow for future roots and foliage in the final arrangement.
Choose and prepare wood, cork, and stones
Use hardscape for a support job or a deliberate landscape feature. These checks do not promise sterilization or permanent stability.
Choose a known material and purpose
Decide whether it supports an air plant or shapes the landscape. As a practical precaution, choose a known treatment history; omit painted, treated, crumbling, or unidentified found pieces rather than guessing what cleaning makes safe.
- Choose a support by its care route Compare removable supports and access for air-plant care.
Clean and inspect before assembly
Remove debris and clean small rocks or wood before adding them. Reject contaminated or unstable pieces. Cleaning does not prove they are pest-free or will never grow fungi.
- Follow the preparation and planting sequence Review cleaning, root-zone preparation, and safe assembly before planting.
Test stability and access
Seat pieces securely, clear of fragile growth, with access to roots. Test the lid too if the garden will be closed. Keep heavy pieces from loading onto fragile glass or roots. An air-plant support must remain removable and allow water to drain and the plant to dry.
- Dry-fit the layout and test future care Check the whole rootball or support, tools, and removal route.
Keep a removal option
Lift out a piece that blocks inspection, becomes unstable, or carries persistent unwanted growth. Reassess conditions rather than covering the problem with more material.
Evidence[4]
- Adjust a layout when care becomes difficult Check blocked access, changing growth, wetness, and removal needs.
Finish your list with a dry fit
- Measure usable growing spaceAllow for actual rootballs, medium, pot or support, and future growth. Buy quantities from that space, not a universal jar-size recipe.
- Try the route in and outTest tools, roots, and removable pots or mounts before filling the vessel.
- Know where added water goesLocate roots, collection space, and a route for excess water to leave. A flytrap’s deliberate tray follows its separate routine.
- Remove items without a jobKeep accessories only if you can explain their function and maintenance. Leave roots enough space.
Your next step
Plan the rest of the build
More detail when you need it
- Check visible mold and recurring growthDistinguish surface debris from damaged living tissue, remove affected material, and know when to inspect the plant.
- Compare a kit with your own supply listCheck omissions and duplicated tools before buying a bundle.
- Buy plants with a clear arrival specificationA pot, rooted plug, cutting, and mounted plant leave different preparation work.
- Check whether you need a grow lightChoose daylight, supplemental light, or a dedicated growing position before buying.
- Choose a vessel with usable accessCompare openings, growing space, lids, and the route for water and maintenance.
- Choose a maintainable layoutPlan growing room and access before decorating.
Explore more in materials
Sources and review
- Folsomia candida — photograph and license · Andy Murray / Wikimedia Commons
- Terrariums and bottle gardens · Royal Horticultural Society
- Plants and Youth: Designing and Building a Terrarium · University of Florida IFAS Extension
- How to Create and Care for a Terrarium · Iowa State University Extension and Outreach
- Aloe vera — light, medium, and drainage · NC State Extension
- Air plants · Royal Horticultural Society
- Growing Dionaea muscipula · International Carnivorous Plant Society
- Springtails — feeding and moisture context · University of Maryland Extension
- Preserved reindeer moss — product treatment and care · Koch & Co